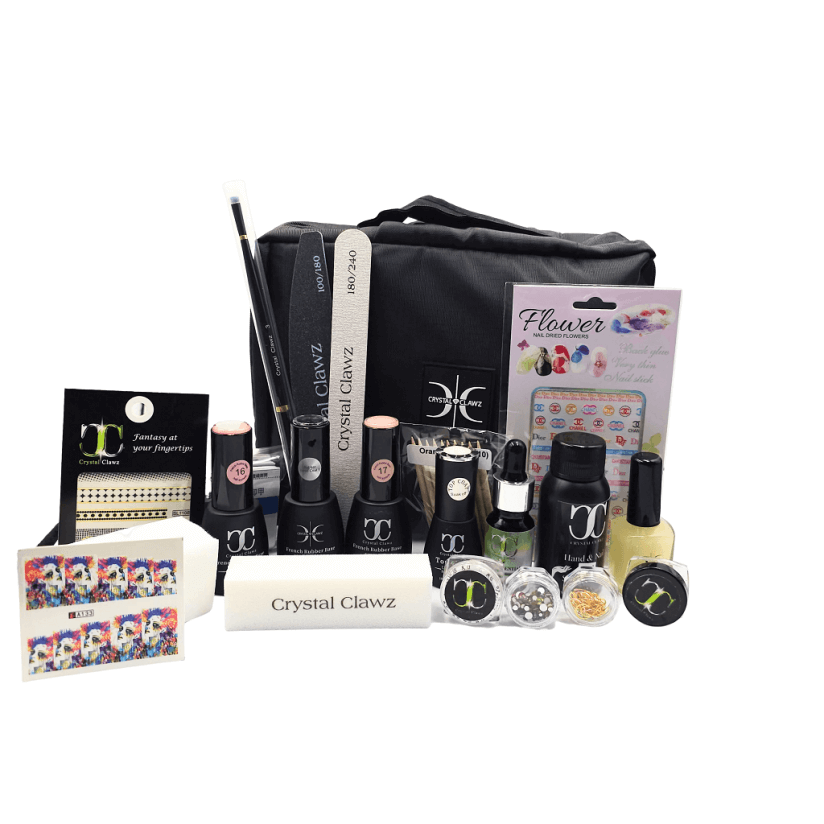
This is ALL you need to get started in one set. Simplest system, best quality. No primers, no bonders, NO anything else!
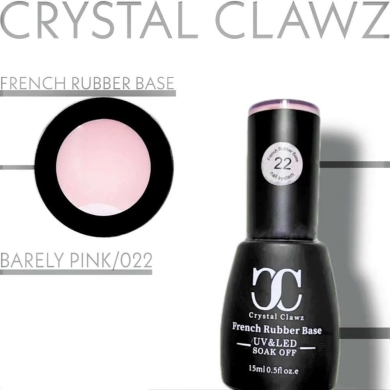
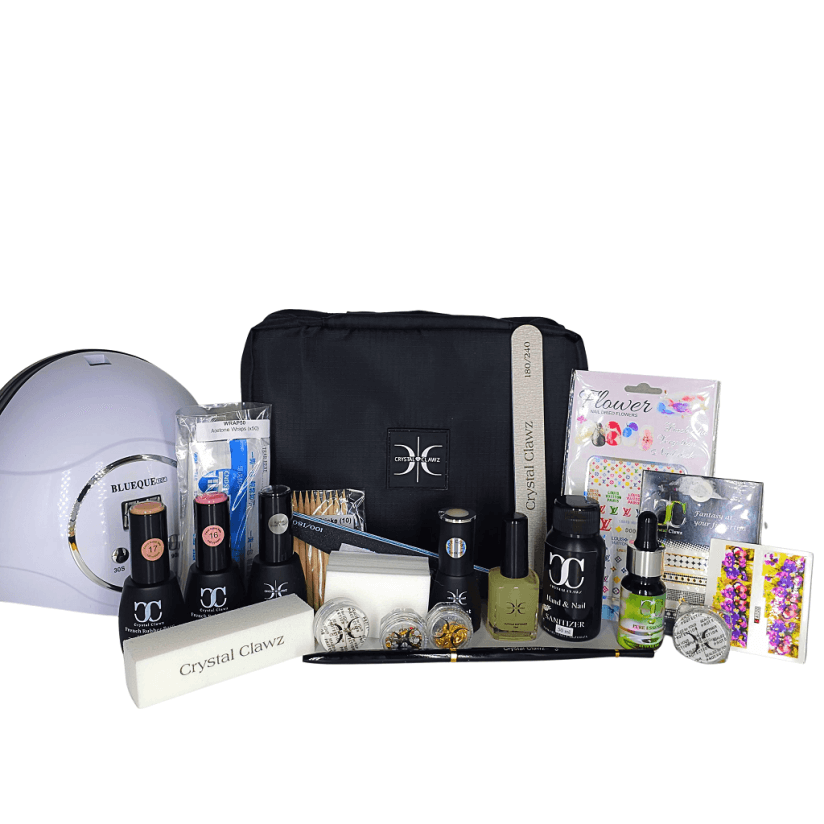
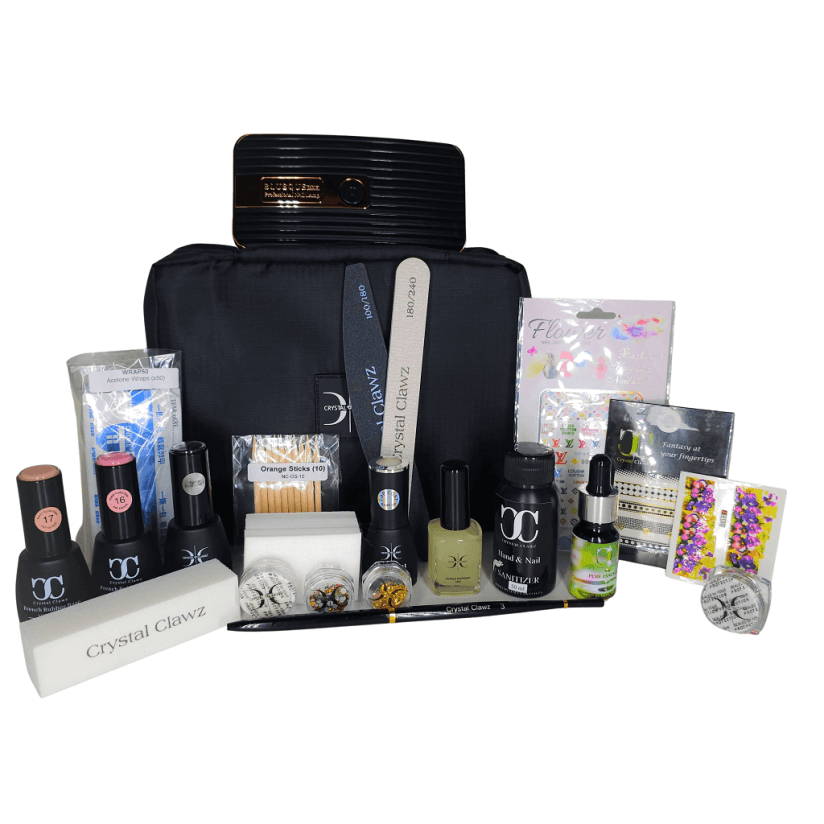
This kit includes: Clear Rubber Base Gel, Blushing Bride Rubber Base Gel, Dare 2 Bare Rubber Base Gel, Top Coat, Cuticle Oil, Files (x2), Buffer Block, Liner Brush, Sanitiser (50ml), Lint free nail wipes (100), Orange Sticks (10), Cuticle Softener (15ml), Acetone Soak Off Wraps (50), Mixed deco, Crystal Clawz Cosmetic Bag CHOOSE a lamp if you need one.
The 36W Mini lamp is perfectly portable but will need a longer curing time of around 120 seconds. The 48W Compact lamp is perfect for home use and cures in 60 seconds.
STEP-BY-STEPÂ
Prepare the nails, apply tips (if using tips) and remove the shine from the tip with a buffer block. Â
Remove all debris and dust with a dusting brush and wipe with sanitiser. Â
DO NOT CURE. By leaving a thin, wet coat, you are creating a layer that will allow the main coat to self-level more easily Â
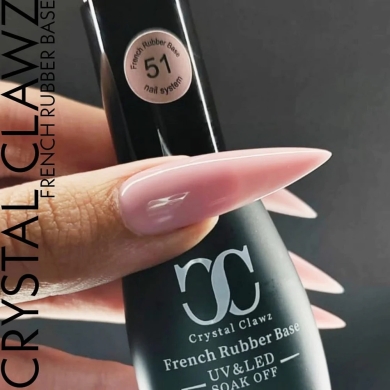
Apply a second layer of CRYSTAL CLAWZ Rubber Base Gel down the centre of the nail from cuticle to free edge – thinner at the free edge and cuticle for a curved apex/arch. Â
Allow to self-level Â
Using a detail liner brush, spread the gel to the cuticles and sidewalls, making sure that you do not get the product on the skin or cuticles. If this happens, clean off skin and cuticles before curing as this can cause lifting of the product. Â
The client’s hand can be turned upside down to allow the gel to run back to the apex if it has levelled down too much. Rubber Base Gel is much thinner than Builder Gel and more likely to run Â
Make sure you have an even arch (apex) from the cuticle to the end of the nail, and then from side to side (the C-Curve) Â
Cure under 48W LED lamp for 60 seconds (approx. 120 seconds under a UV lamp or 36W MINI Lamp)
*HEAT SPIKE WARNING* All hard Gels (Builder and Rubber Base) will heat up as a result of the chemical reaction in the curing process. If the client experiences a burning sensation, remove the hand from the lamp, wait a few seconds and reinsert. This will NOT damage the nail it will only cause discomfort. The tolerance level will differ between clients Â
File to desired length and shape; ensuring that the end product is smooth and thin, without any bumps. Check that you have an even arch (apex) from the cuticle to the end of the nail, and then from side to side (this is called the C-Curve). Remember – the overlay needs to be thinner at the front and the cuticle.  The edge should be no thicker than a credit card and the cuticle area should be thin enough to blend with the natural nail. Â
Use Buffer block and buff to smooth the surface. Â
Remove all dust using your dusting brush and wipe nail using a lint free cotton wipe and sanitiser. Â
Finish with desired CRYSTAL CLAWZ Top Coat, or apply colour/art before applying Top Coat
Add a Review
Your email address will not be published. Required fields are marked *


.jpg)


.jpg)